COLREGS rules
Practical guides to the COLREGS, buoyage, lights and shapes, and exam prep - written to be useful at the chart table, not just in the classroom.

Learn the COLREGS by Ear: Introducing Listen to the Rules
The IRPCS app's new audio course reads every COLREGS rule word for word, then explains it. Here's why that helps the rules stick, and how to use it.
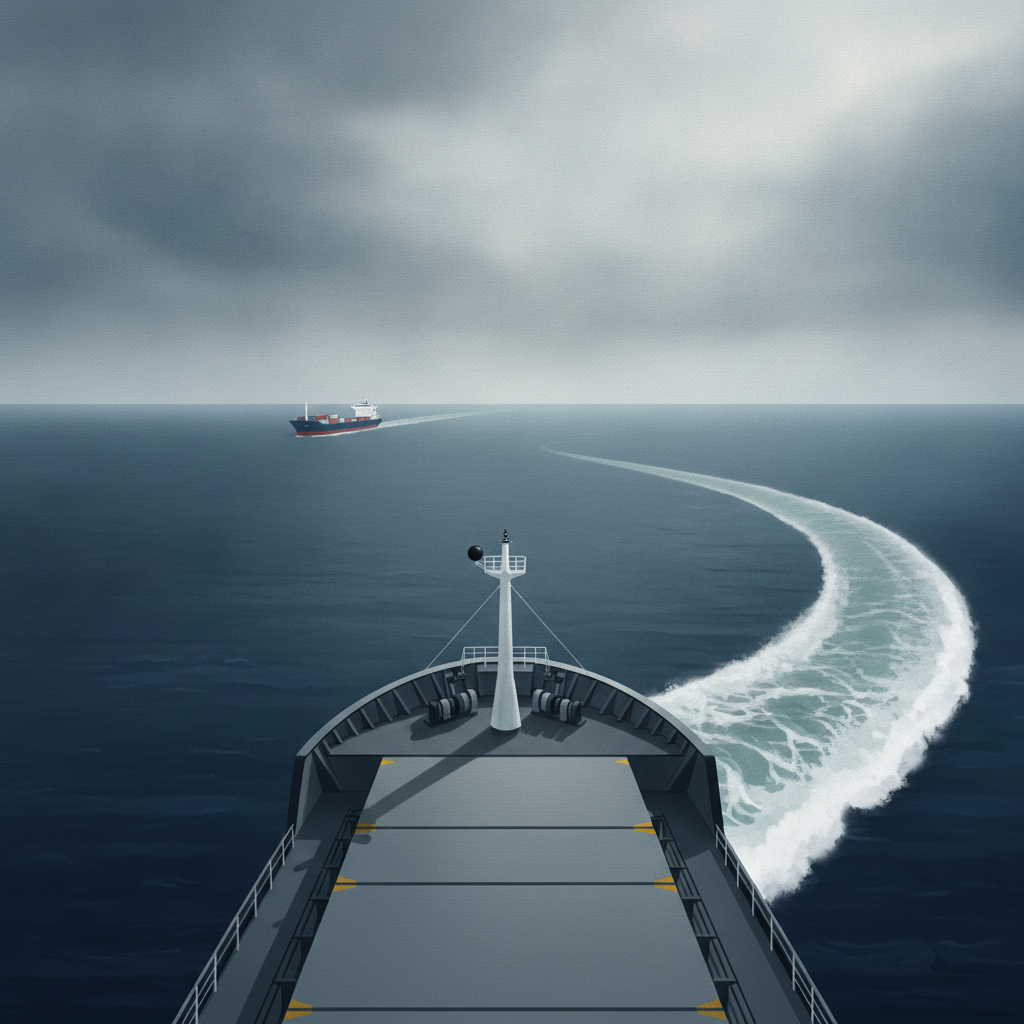
Rule 8: Make Your Avoiding Action Obvious and Early
Small, hesitant helm movements are invisible from the bridge of an approaching ship. Rule 8 demands large, early, readily apparent action - here's why it matters.

Day Shapes Decoded: Balls, Cones and Diamonds Explained
Every COLREGS day shape demystified: what each ball, cone, diamond and cylinder means, which rule governs it, and how to remember them for your exam.

Rule 18 Explained: The Vessel Hierarchy Every Skipper Must Know
Rule 18 sets out who keeps clear of whom at sea. Master the vessel hierarchy from NUC to power-driven vessels and understand where other rules take precedence.

Rule 9 Narrow Channels: What Every Skipper Must Know
Rule 9 governs narrow channels for all vessels. Here is what keeping starboard, 'shall not impede', and overtaking signals mean in practice.
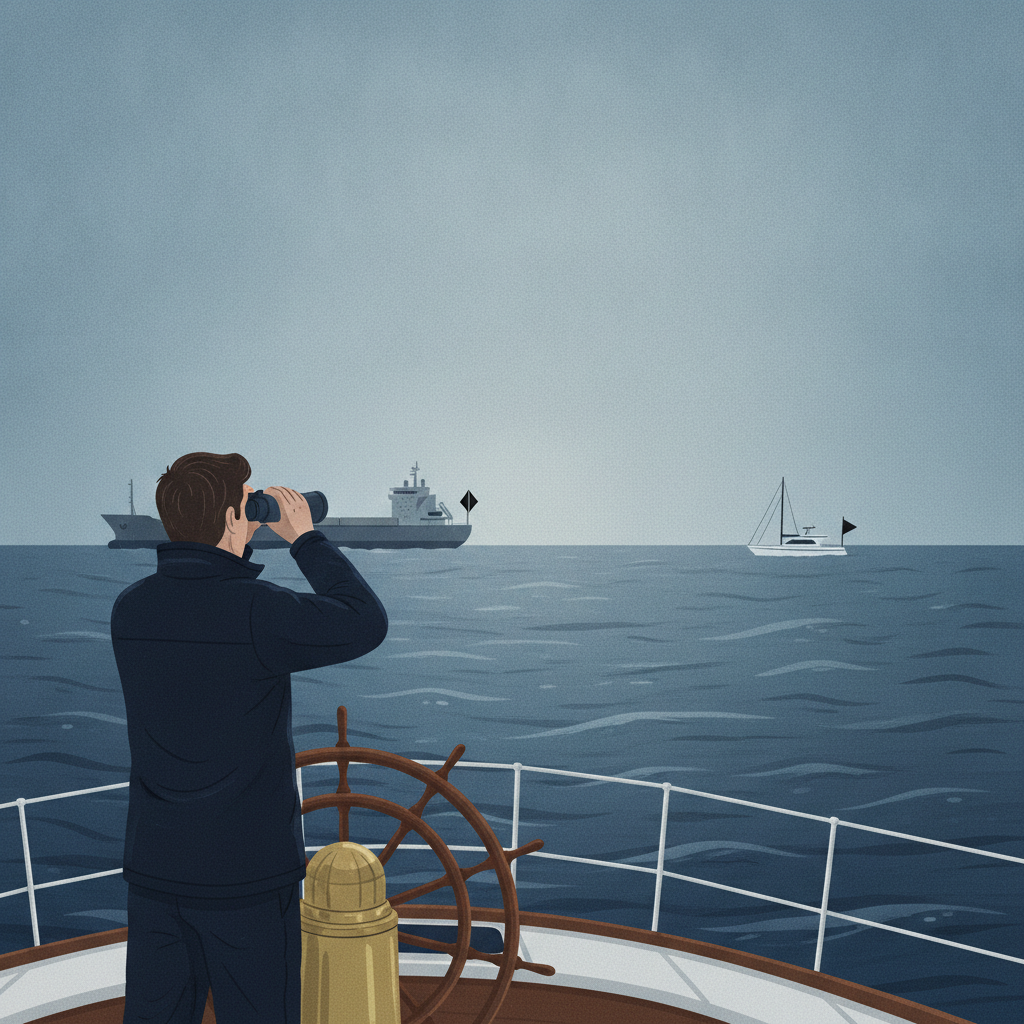
Rule 7: How to Decide Whether Risk of Collision Exists
Constant bearing, radar, and scanty information - the watchkeeping habits that Rule 7 demands every officer of the watch builds into muscle memory.

Rule 6 Safe Speed: What It Really Means for Every Watch
Safe speed isn't just a fog rule. Rule 6 applies in all conditions - here's what the factors list actually requires, and why it matters.
Reading a Vessel's Aspect at Night From Its Navigation Lights
Learn how arc angles reveal heading and aspect at night, which light combinations mean what, and the mistakes that catch skippers out.

RYA Day Skipper Theory: The COLREGS You'll Actually Be Tested On
Which COLREGS rules dominate the Day Skipper theory exam, the traps that catch candidates out, and a practical 4-week prep plan.
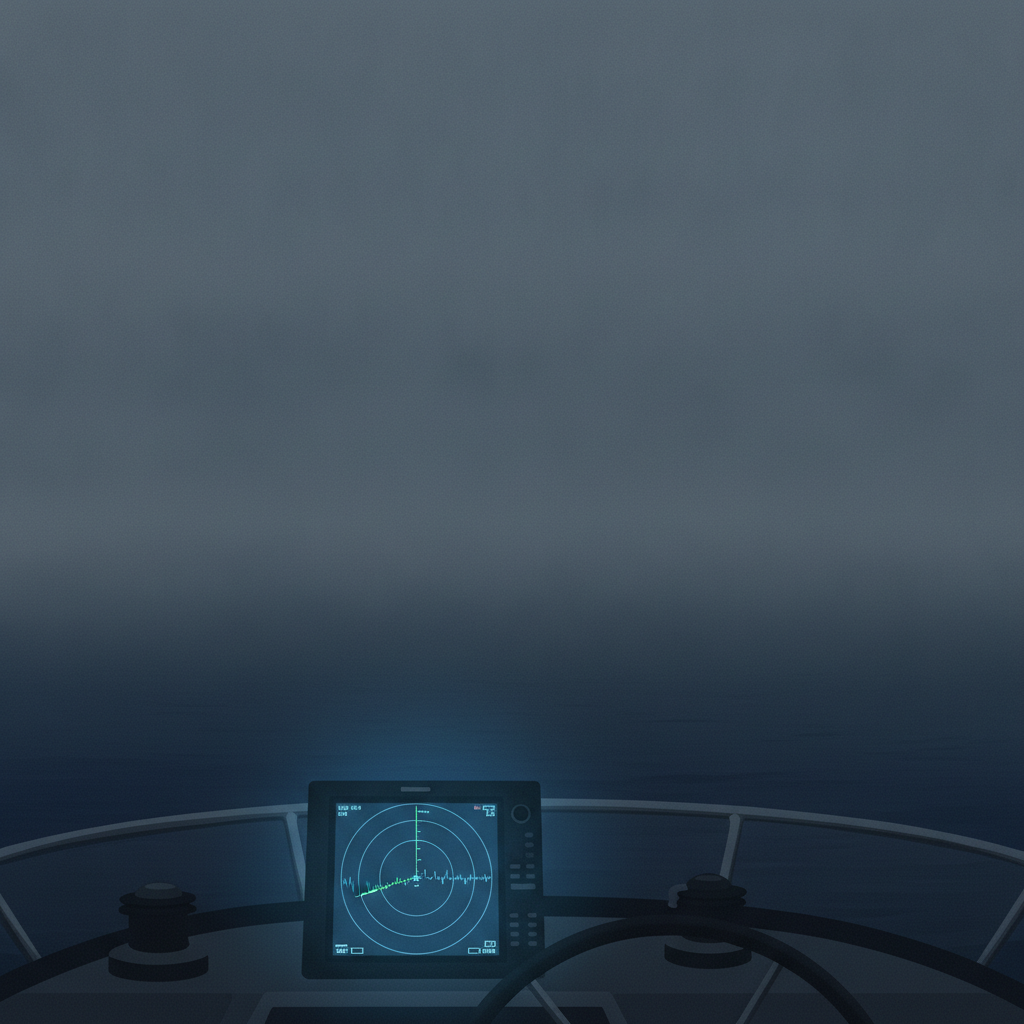
Rule 19: Why Fog Rewrites the Collision Rules
In restricted visibility, Rule 19 replaces the give-way/stand-on framework entirely. Here's what changes, and the turns you must avoid.
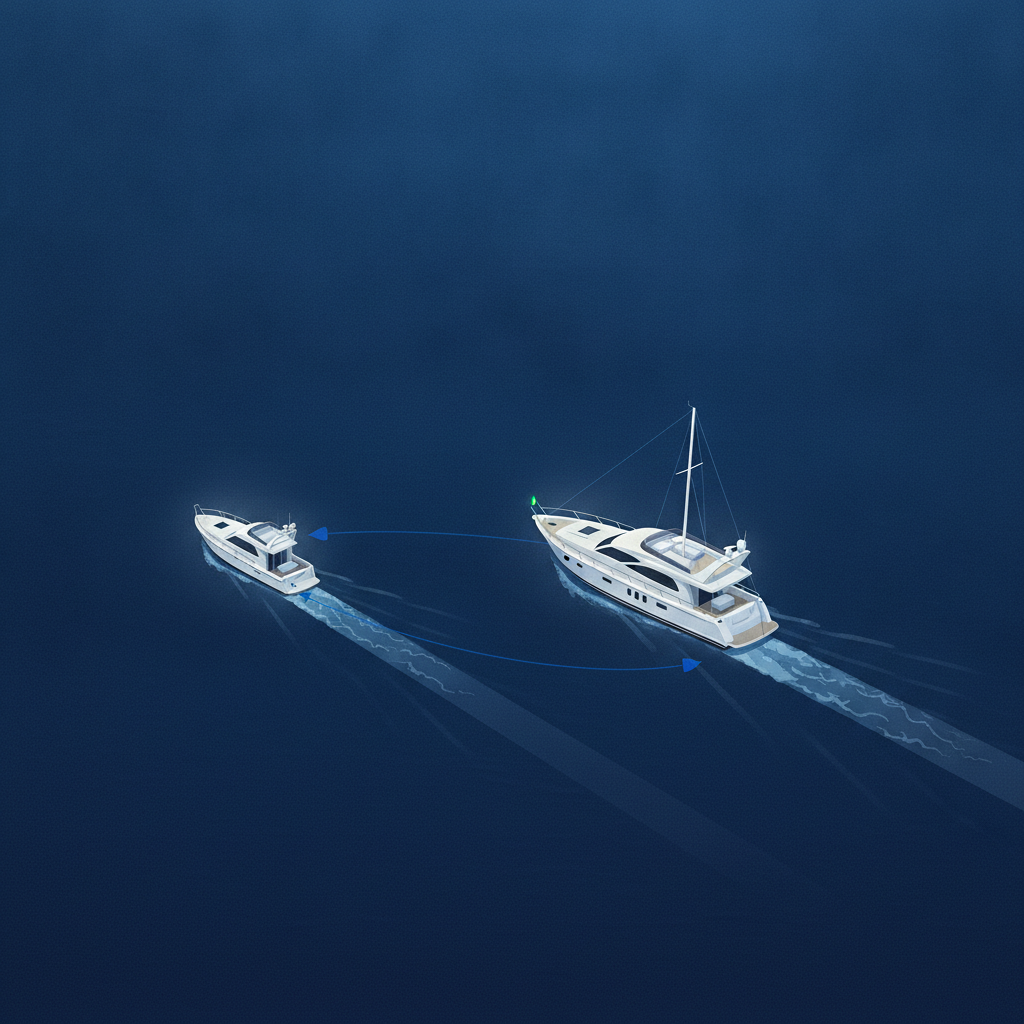
Rule 15 Crossing Situations: Who Gives Way and Why
Rule 15 governs crossing situations at sea. Learn who gives way, what constant bearing means in practice, and why you must never cross ahead of the stand-on vessel.
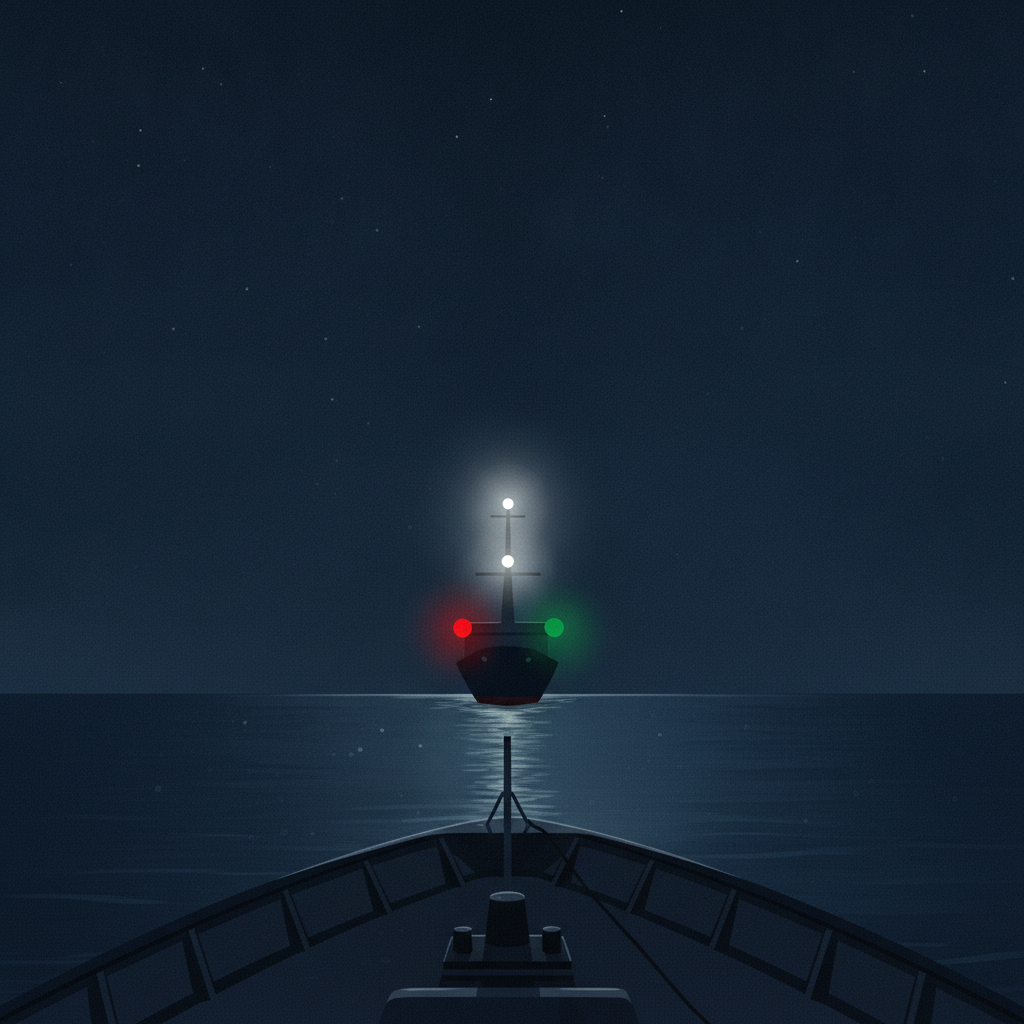
Rule 14: Recognising a Head-On and the Starboard Reflex
How to identify a head-on situation at night, why Rule 14's in-doubt clause matters, and why starboard is always the right turn.

Rule 13 Overtaking: The Rule That Overrides All Others
Rule 13 makes every overtaking vessel give-way, full stop. Here's how to identify an overtaking situation, apply the stern-light test, and know when you're finally clear.
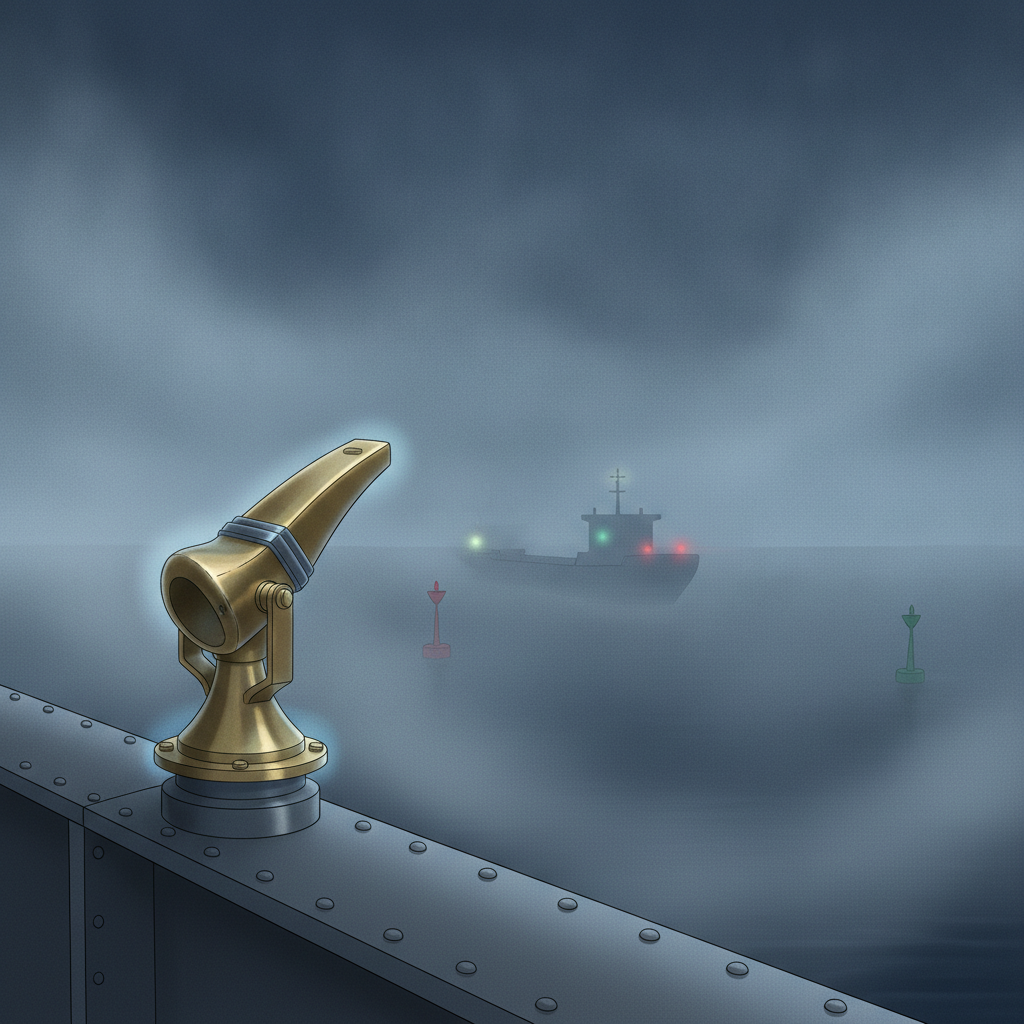
Sound Signals Every Skipper Must Know: 1 Blast to 5
From one short blast to five, here is what COLREGS Rules 34 and 35 actually require - and where US Inland rules catch skippers out.

Rule 12 Explained: Which Sailing Vessel Gives Way?
Port tack, starboard tack, windward boat - Rule 12 ranks them all. Here's how to apply the hierarchy confidently at sea and in exams.
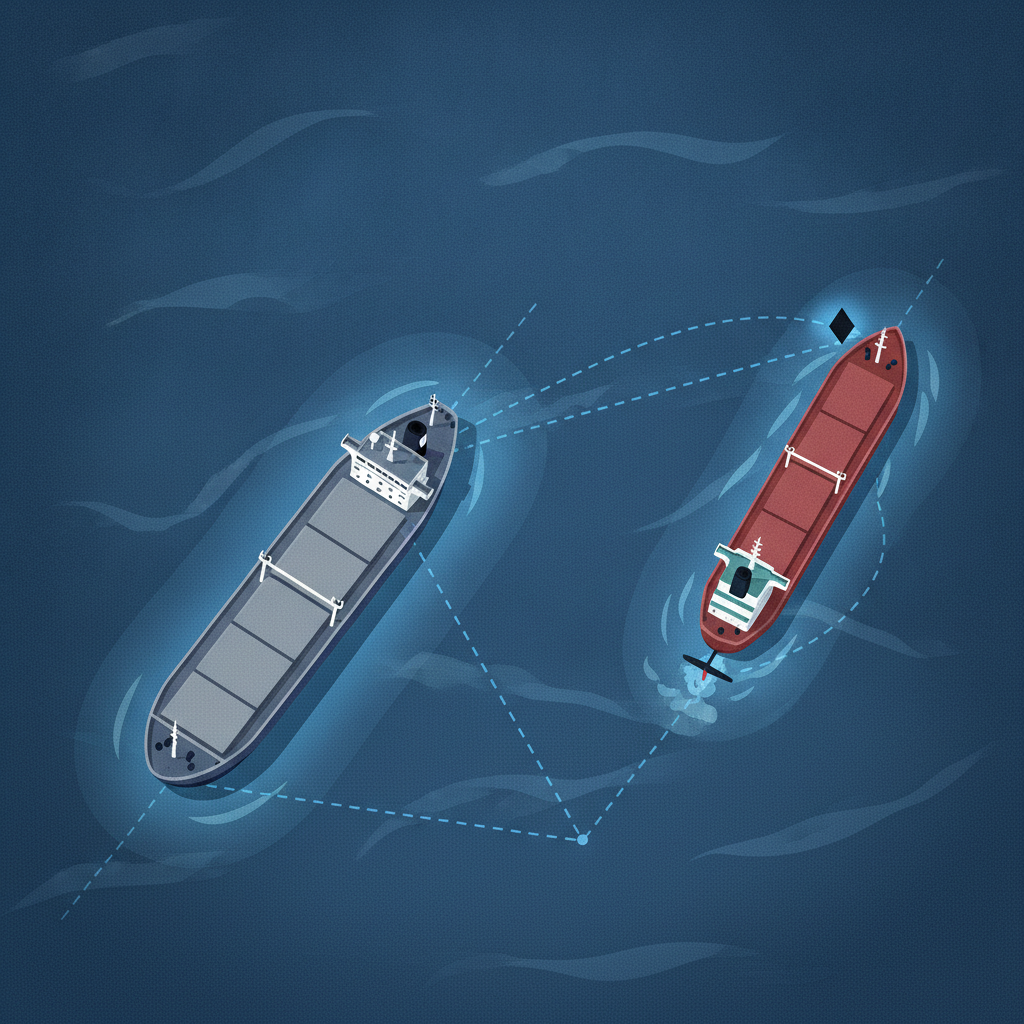
Stand-On vs Give-Way: Who Moves, and When Rules Change
Rule 16 and Rule 17 explained clearly - including the moment a stand-on vessel must stop standing on and take action.
Rule 5: why look-out is the rule examiners care about most
Every COLREGS incident report seems to cite Rule 5. What "a proper look-out by sight and hearing" actually demands, why it applies even at anchor watch, and how examiners test it.